Splunk Installation on Ubuntu
To install Splunk, we need to create an Account on the Splunk official website.
So, after creating the account, click on the Products on the Splunk official website, it will show a list of Splunk products, and select Splunk Enterprise.
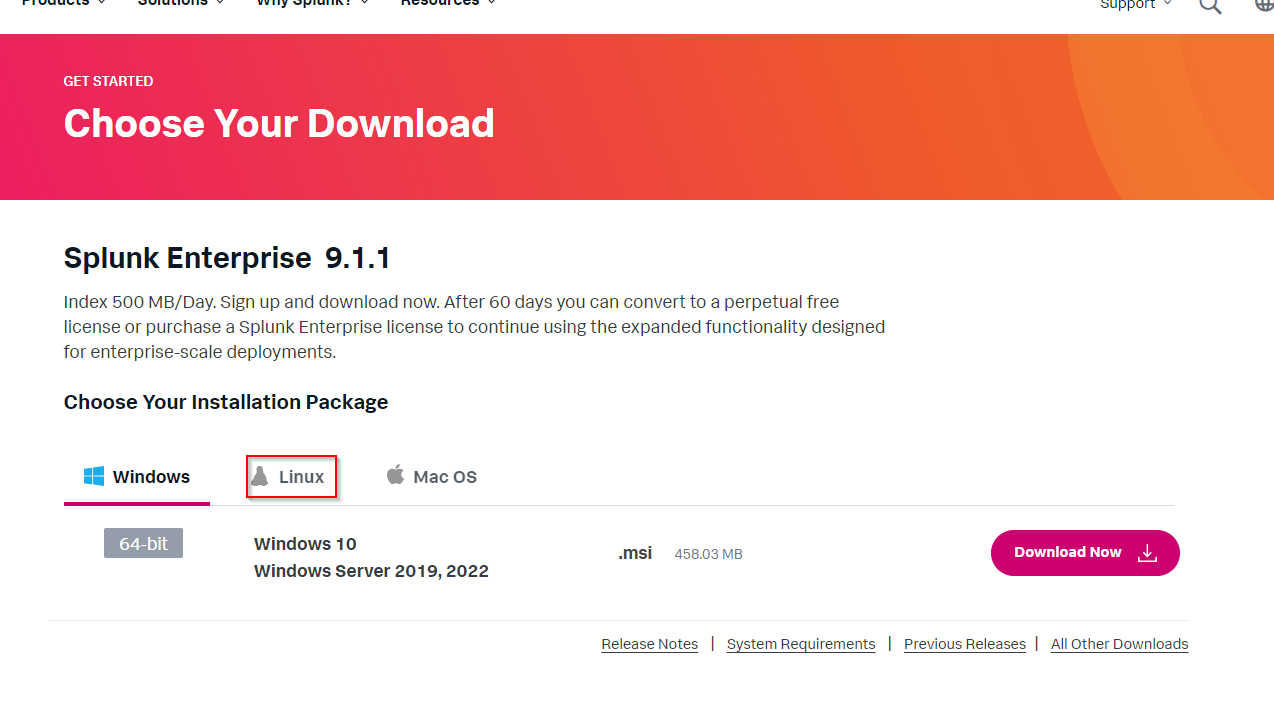
It will take you to a downloads page, where you can select which version of the splunk that you would like that install. Select Linux.
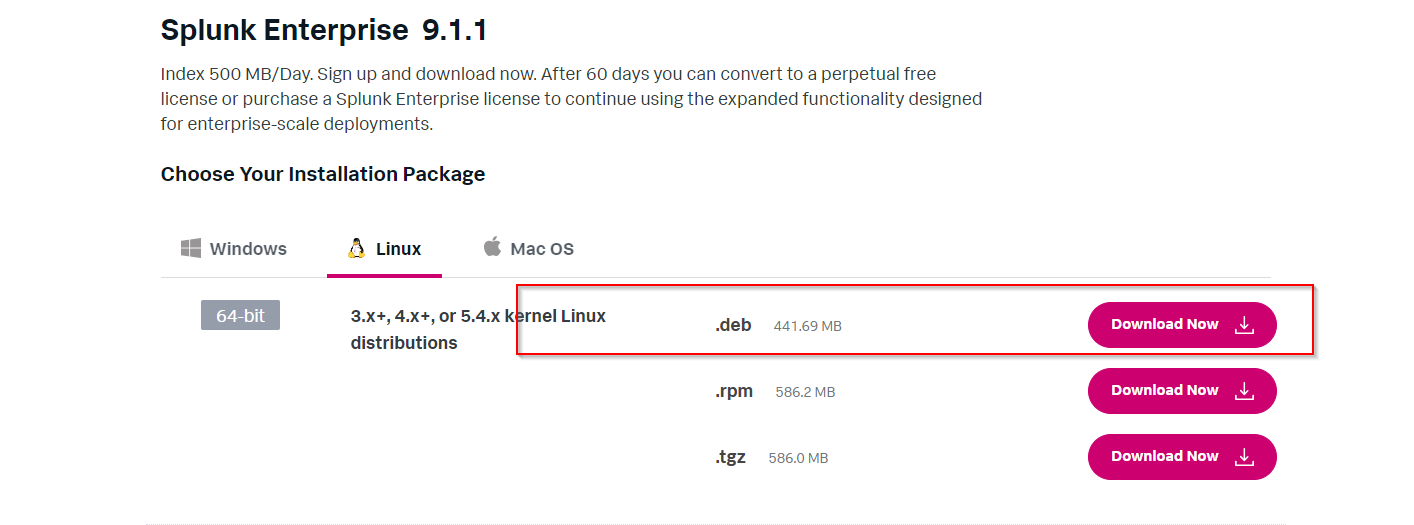
In Linux, Click on the download now button in the .deb section as shown below
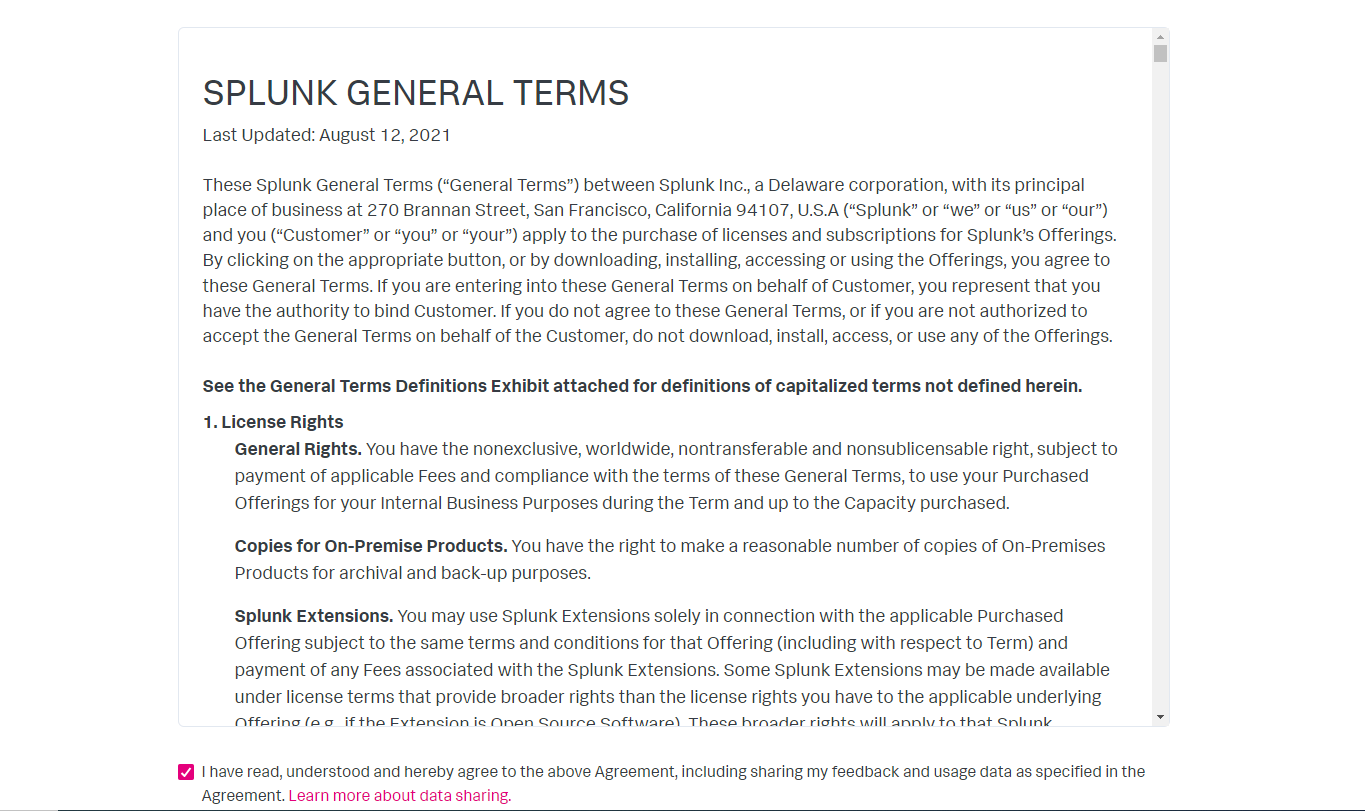
As soon as you click on that, it will ask you for EULA terms, after you read and understand it and are okay with that you can select "I have read, understood and hereby agree to the above agreement, including sharing my feedback and usage data as specified in the agreement" and then click on Access program below that
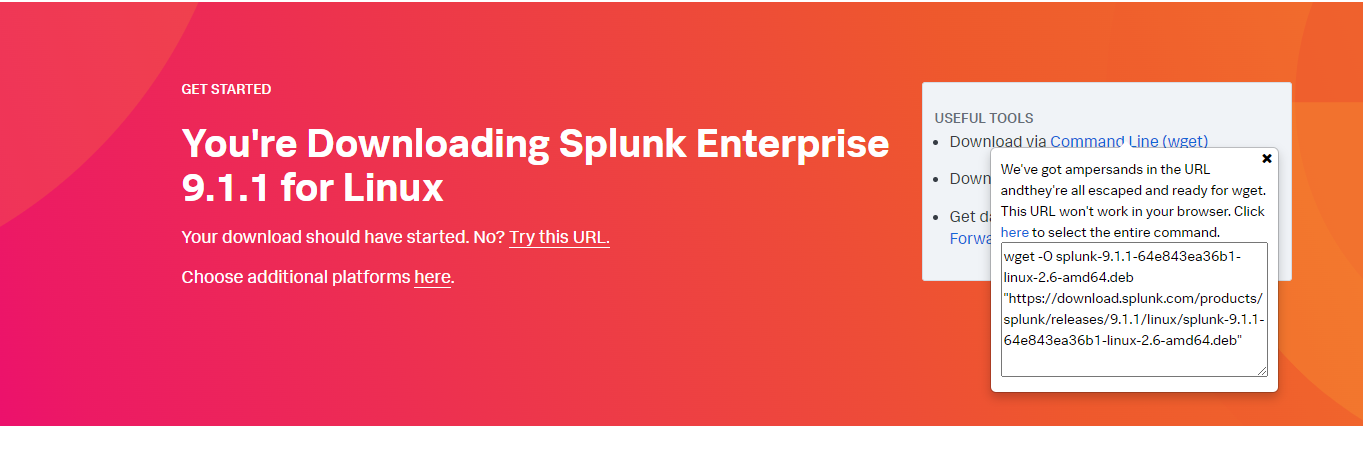
it will start Downloading on your laptop. Cancel it and observe that on the top right side of the page, it will show a list of download options, In that, Select wget installation process
- It will provide you the command and the version to download the splunk to the ubuntu as shown below
wget -O splunk-9.1.1-64e843ea36b1-linux-2.6-amd64.deb "https://download.splunk.com/products/splunk/releases/9.1.1/linux/splunk-9.1.1-64e843ea36b1-linux-2.6-amd64.deb"
Run the DPKG installer, it will unpack and install Splunk on the server
sudo dpkg -i <Splunk package name that you have downloaded> In My case it is
sudo dpkg -i splunk-9.1.1-64e843ea36b1-linux-2.6-amd64.deb
Now,
sudo /opt/splunk/bin/splunk enable boot-start
It will show a list of General terms, scroll down to the bottom of the terms by clicking on the enter button. At the end, it will ask
Do you agree with the license[y//n]: y (press enter)
Please enter the administrator name: Enter the admin user name that you want to use later (press enter)
Create a Password for the administrator: after entering the password (press enter)
Re-enter the password: Re-enter the password and press enter
Now your Splunk installation is completed. Let's start it!!
Enable the process to Run as soon as the server starts
sudo systemctl enable splunk
Start the process
sudo systemctl start splunk
Login to the Splunk login credentials at http://serverip:8000
You are Ready to Splunk now
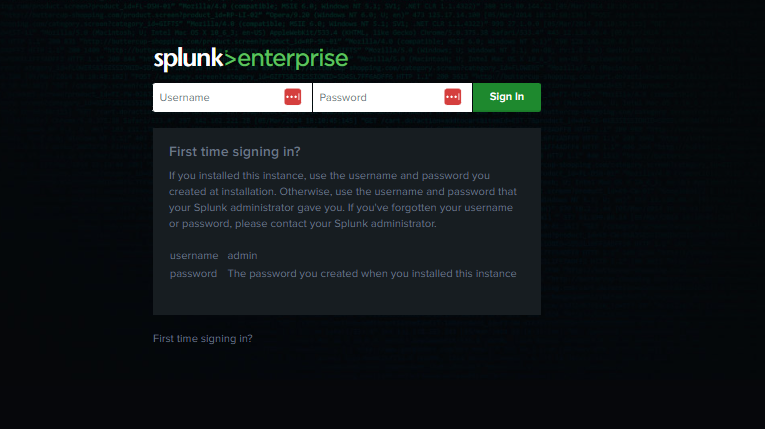
Enter the Username and password which were provided previously at the time of installation instructions.
Happy Splunking !!